Our Gel Start Kit is designed to give you a great start when creating gel nails from start to finish. The kit is based on what you need for a complete treatment, where we have selected the most popular variations among our customers – for example, the color of the gel, the size of the brushes, and the shape of the tips.
If you already have certain products, want to change the color of the gel, or the shape of the tips, we recommend using the list below as a guide and then adapting the kit to your own needs.
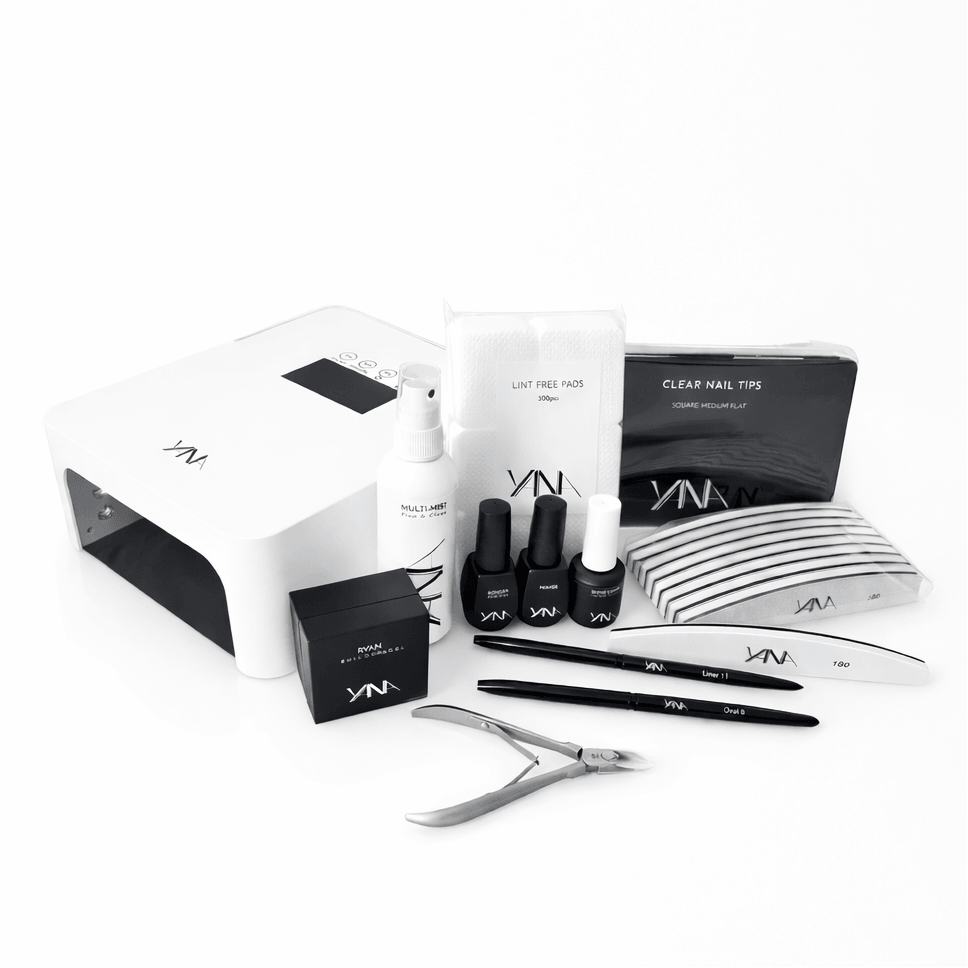
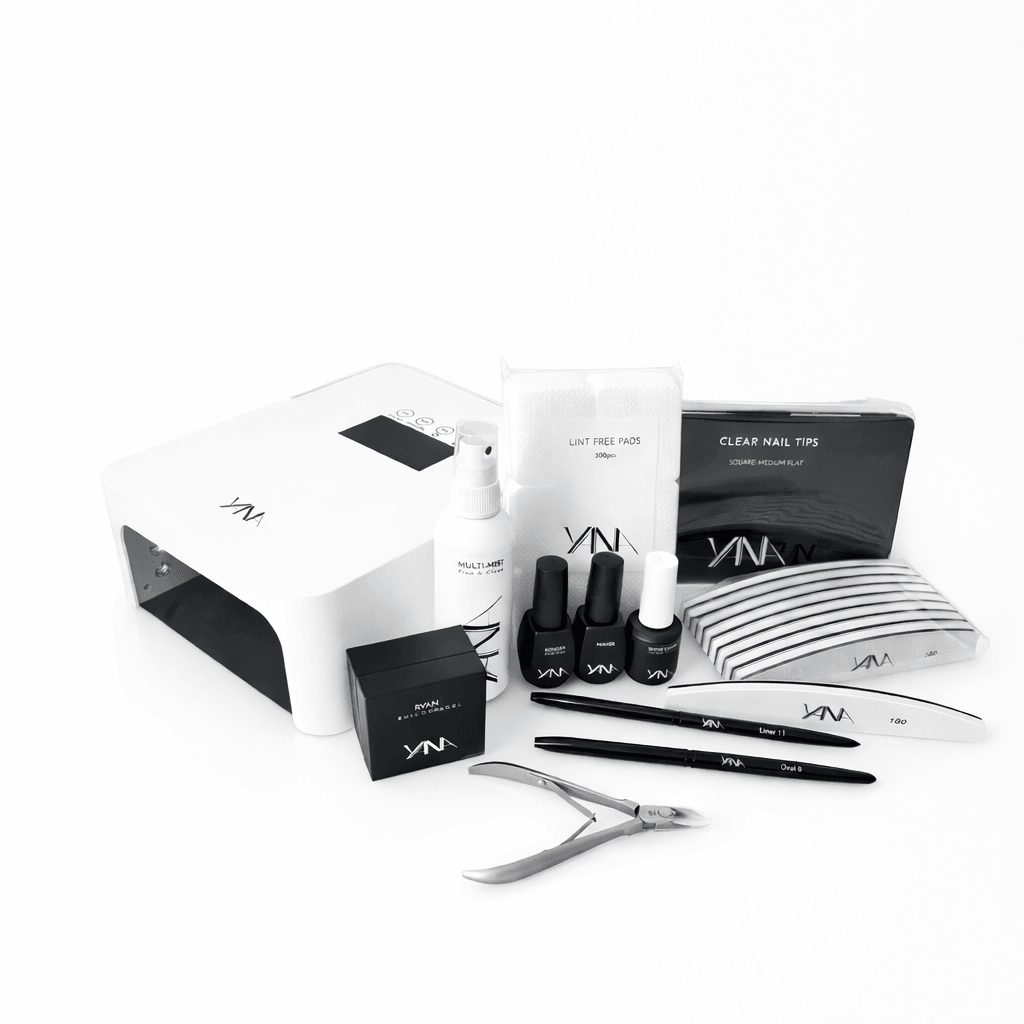
Contains 12 products:
• Primer
• Bonder
• Multi-mist
• Lint Free Pads
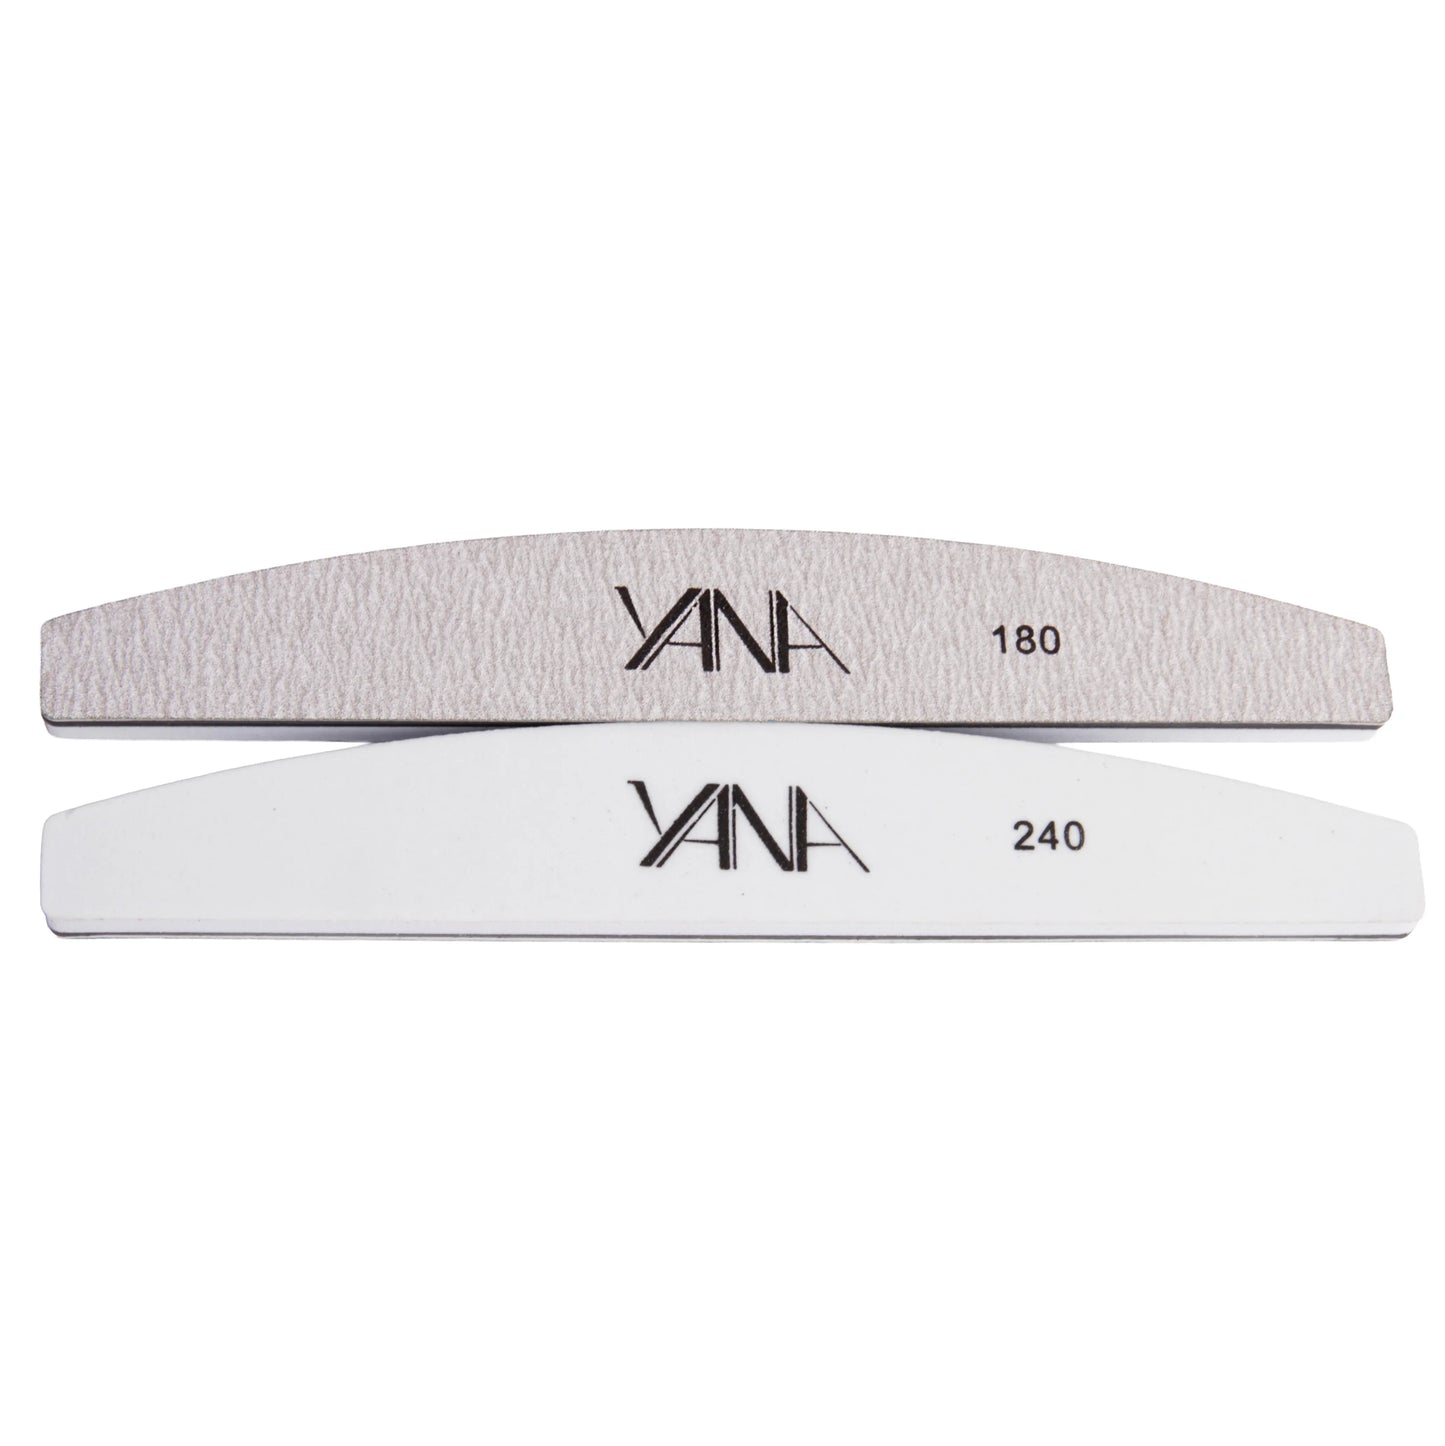
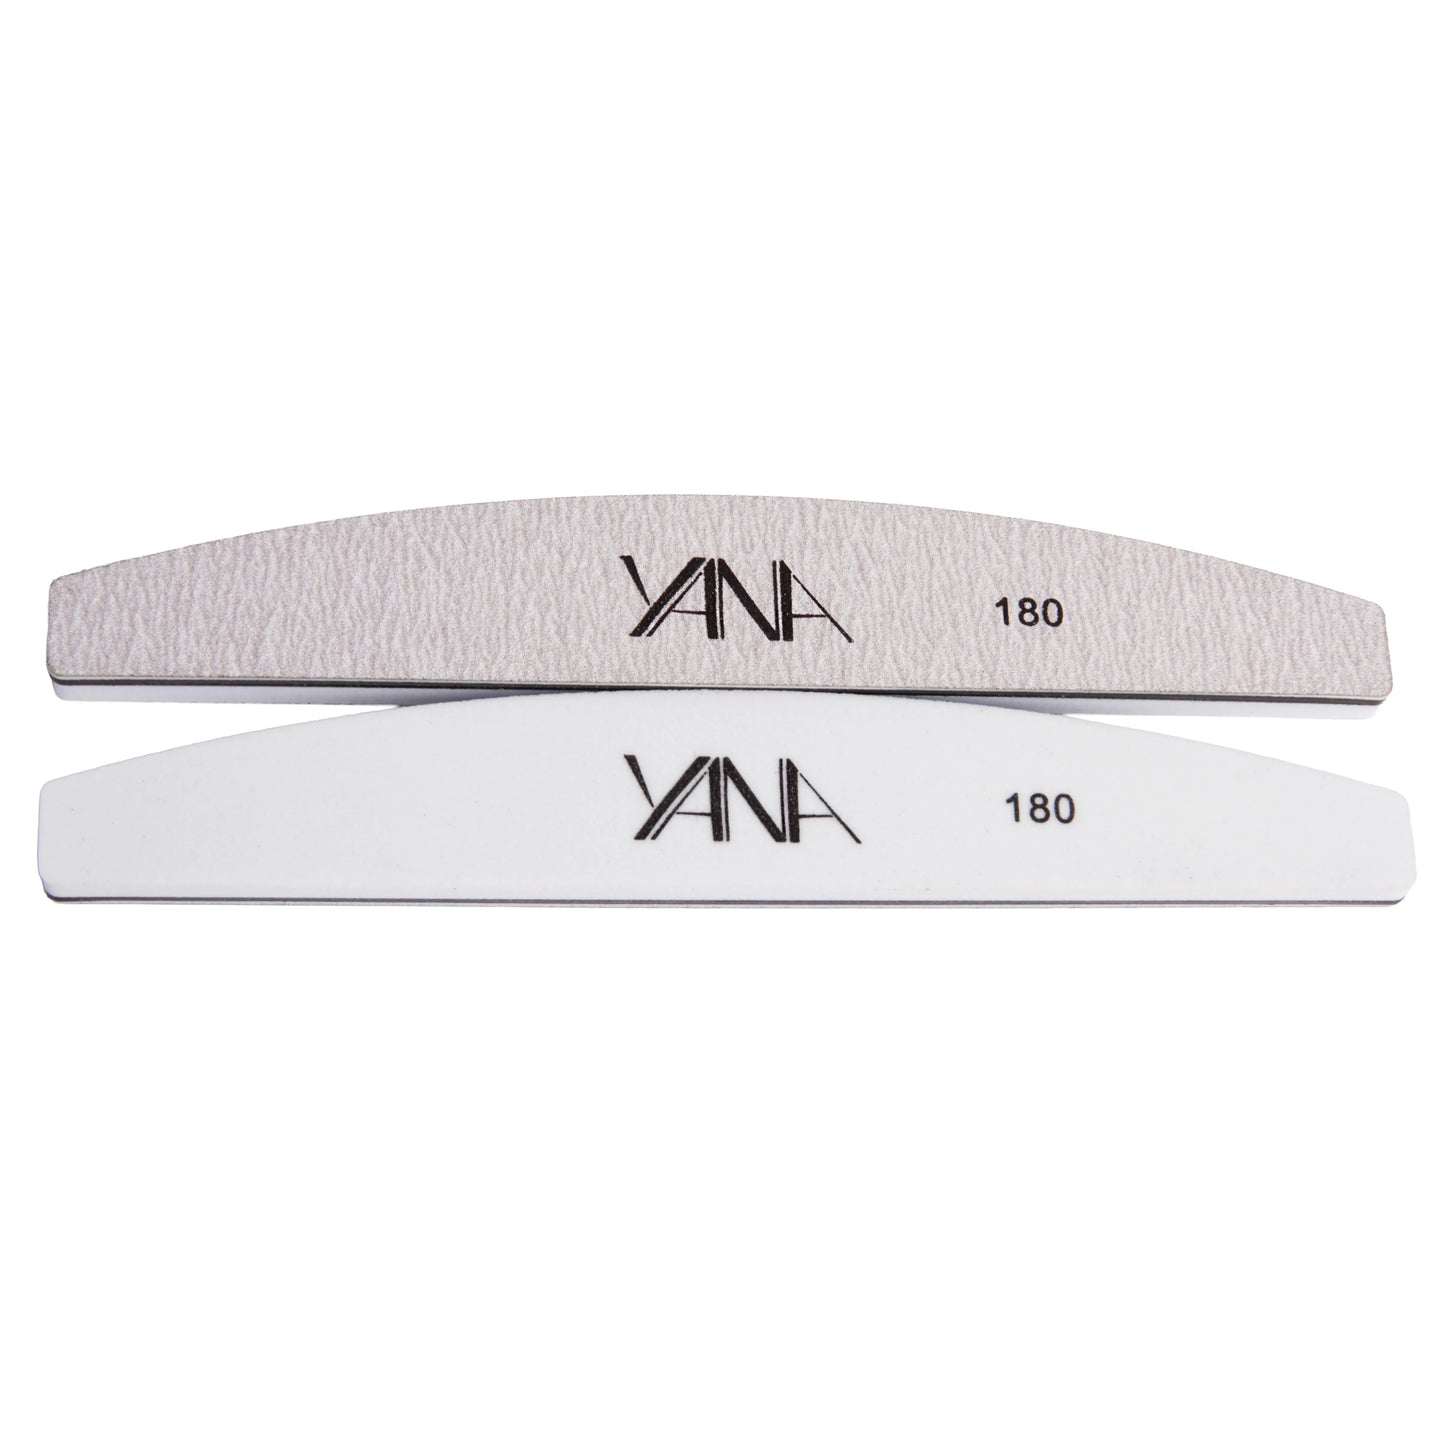
• 2 in 1 file & buffer - 10 pack
• Cuticle Nipper
• Oval Brush 8
• Liner Brush 11
• Square Medium Flat Tips
• UV/LED Lamp
• Shine Crime Top Coat
• Builder Gel Ryan
Please note: Tip glue is not currently included in this starter kit.
Step by step
• Start with clean and dry hands.
• Use the file side of the 2-in-1 file and buffer to shape the free edge of your nails.
• Use the buffer side to roughen the surface of your nails. The goal is to remove all shine. Be sure to reach the areas around the cuticles.
• Clip away excess cuticle.
• Glue the tips onto the free edge of the nail.
• Shape the tips to your desired length and form. We have chosen the Square Medium Flat tips because they are universal and can be shaped into virtually any form.
• Buff the surface of the tip to remove shine.
• Spray Multimist directly onto the nail or onto a Lint Free Pad. Then use the pad to remove all dust from the nail. Be sure to reach the edges around the cuticles.
• First apply a layer of Bonder and let air dry for about 2 minutes.
• Then apply a layer of Primer and let air dry for about 2 minutes.
• Pick up a small amount of Builder Gel Ryan with Oval 8 and apply a slip layer. A slip layer is a thin layer of gel applied over the entire nail and tip. This layer helps you guide the gel applied afterwards. Do not cure.
• Then go in with a larger bead of gel and apply it towards the center of your natural nail. Start by gently guiding the gel upwards first and then downwards onto the tip.
• Use Liner 11 to smooth the application. It helps you get close to the cuticles and along the edges with better control.
• Once you are satisfied with the application, cure the nail for 60 seconds in the lamp. We recommend building and curing one nail at a time so that the gel does not run.
• After the nail has cured, a sticky layer still remains. On this sticky layer, you can apply more gel if you want to build in multiple layers. If the sticky layer is wiped away, the gel must be filed before more gel can be applied on top.
• Spray Multimist on a Lint Free Pad and wipe away the sticky layer.
• Use the file side of the 2-in-1 file and buffer to shape the free edge and smooth out any unevenness on the nail. Then use the buffer side to achieve an even and smooth surface.
• Apply a layer of Shine Crime Top Coat and cure in the lamp for 60 seconds.
• Done.